Comparing: Studio vs On-Location Photography

Photography is a beautiful art that requires creativity, skills, and precision. As a photographer, it is essential to understand the different techniques and methods used in photography to achieve your desired results. Two of the most common methods are studio and on-location photography, and these methods differ significantly in several ways. In this post we will take an in-depth look at the differences between studio and on-location photography to help you choose the best option for your next project.

Studio Photography: 

Studio photography is a controlled environment where the Photographer has complete control over the lighting, background, and other elements in the photo. It is ideal for those who want complete control over their images and want maximum precision and quality. If you're a portrait photographer, a studio can offer stunning and professional images that are perfect for headshots. The studio also provides the ability to control the lighting, and it allows you to create different moods in your photos. Moreover, as a photographer, you can take as much time as you need to set up your equipment, adjust settings, and capture your desired shots with tandem shots.

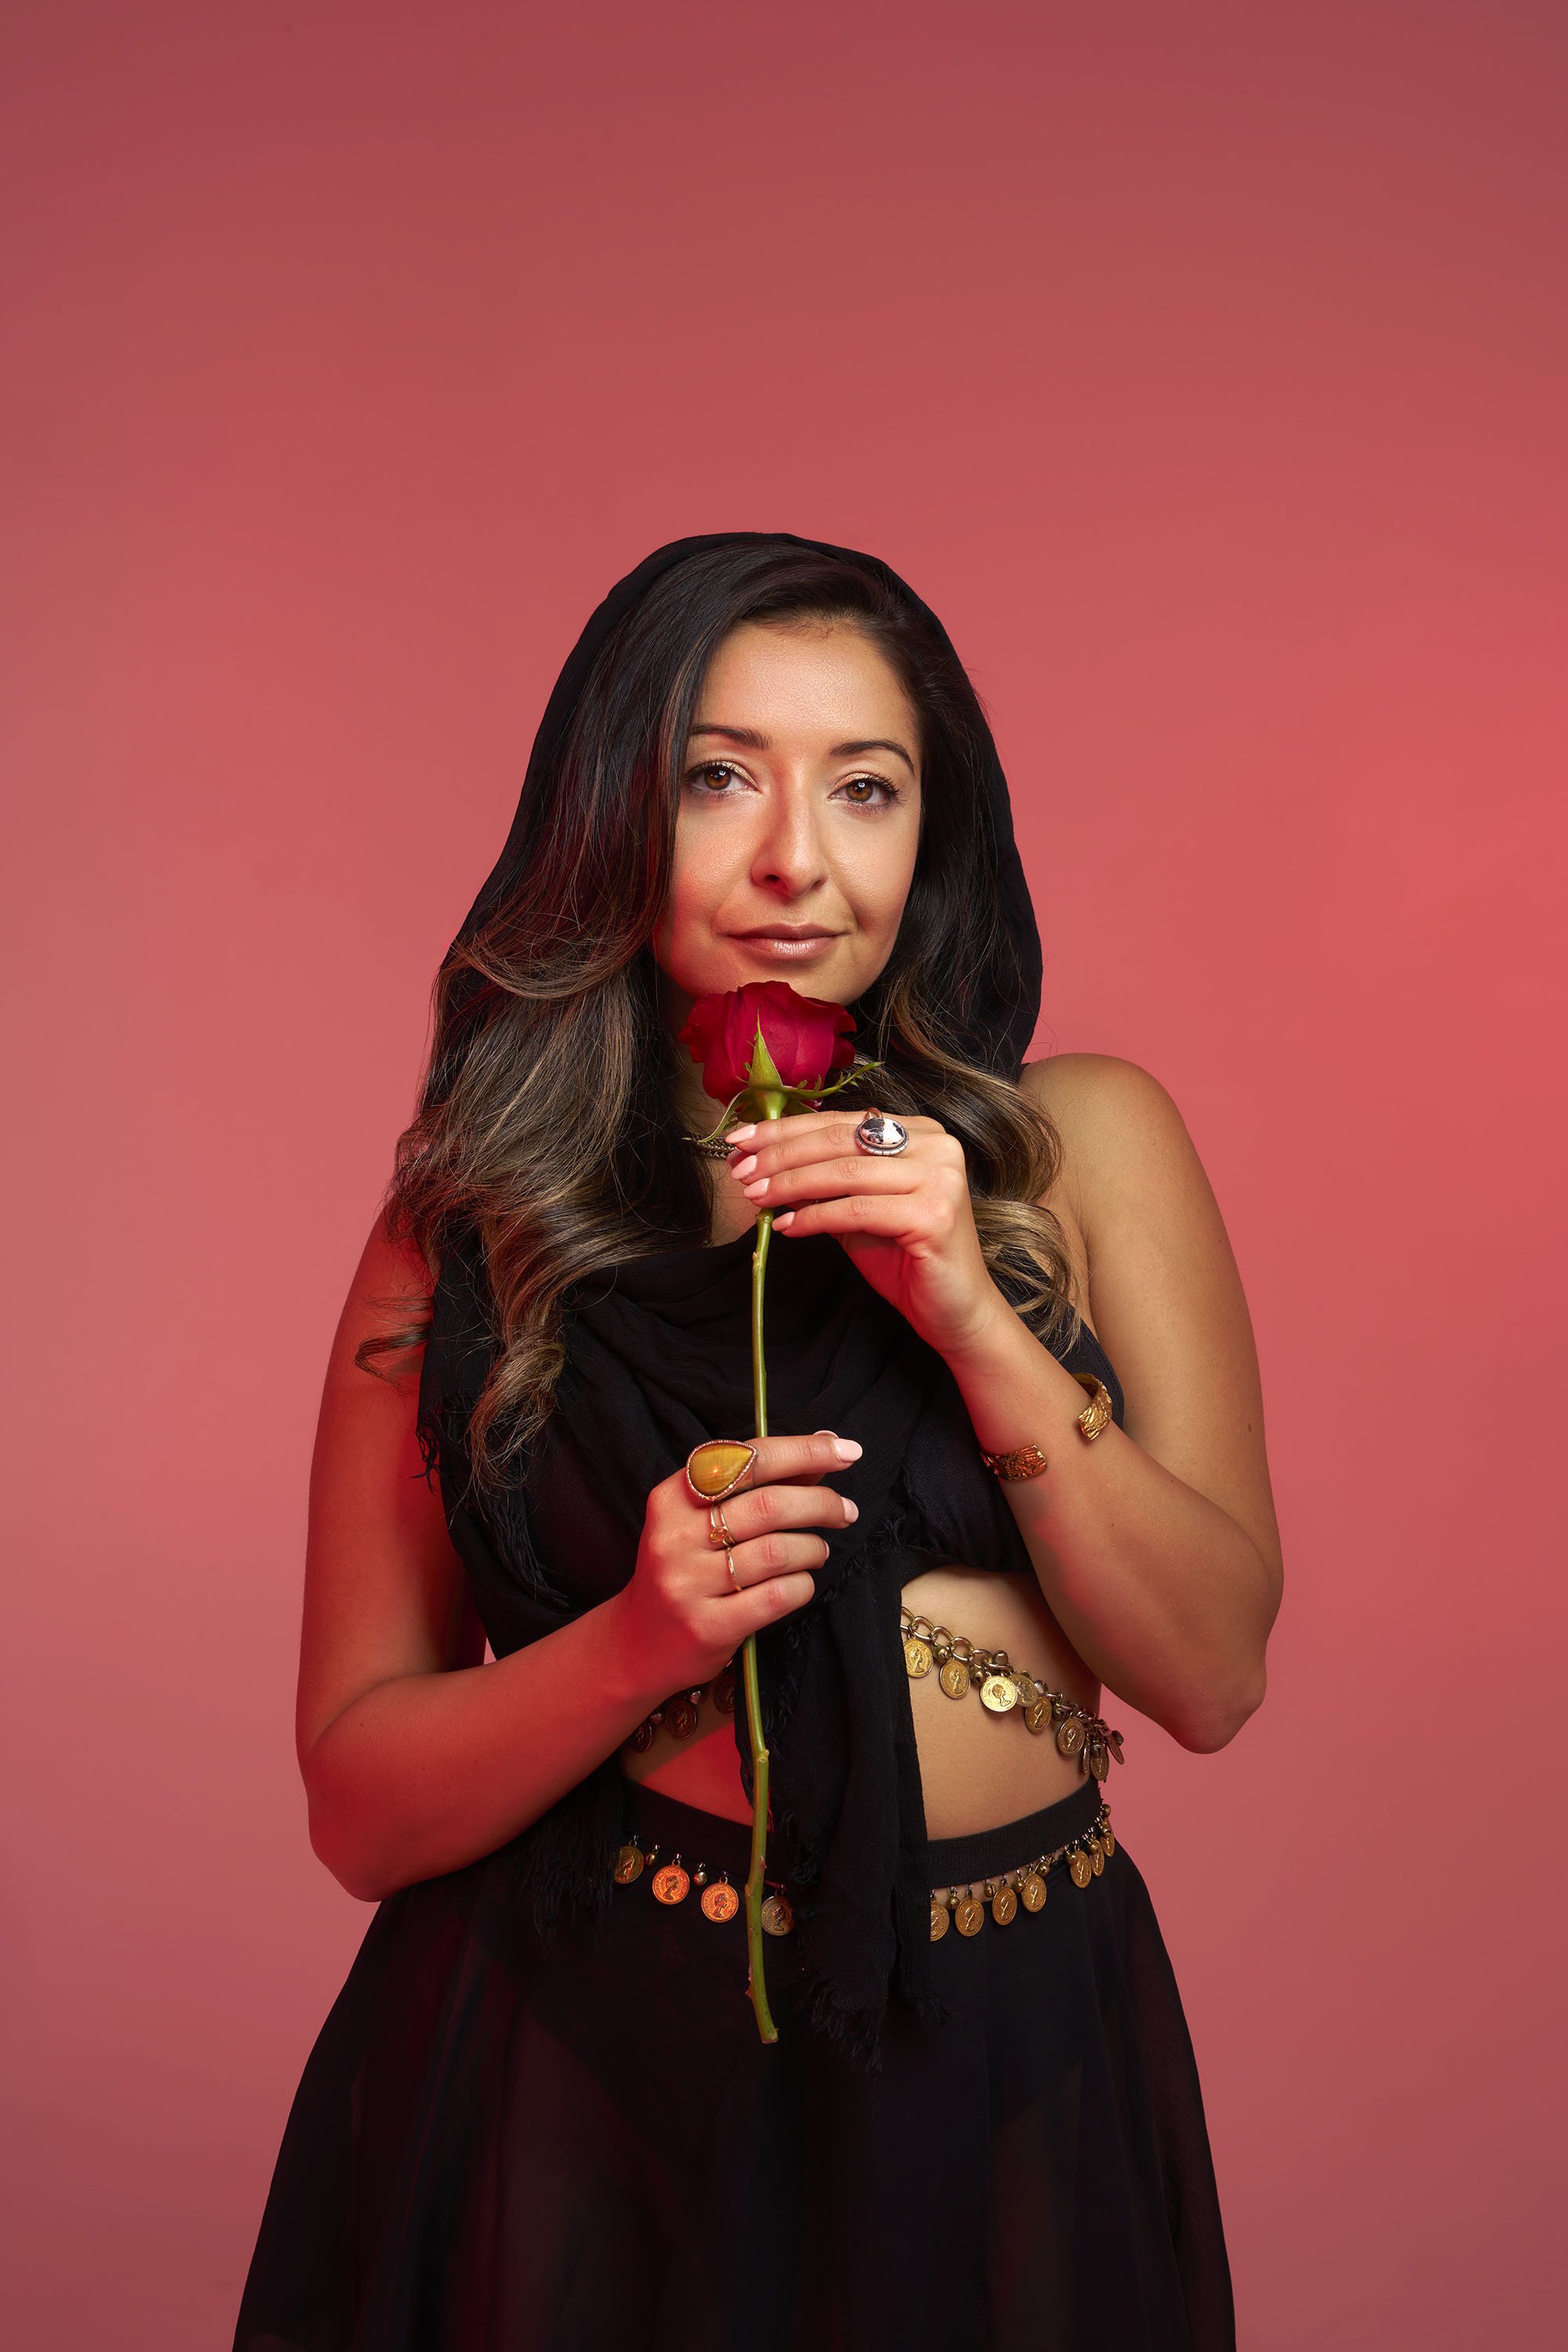
• In this image below, I’m utilizing a large soft source for my key light with a 5ft octabank which is about 45 degrees to the left of camera. An edge or rim light is providing a great highlight on Chase’s cheek and other parts of his body. This light is with a standard 7in reflector which is about 135 degrees camera right. A great technique to bring more depth to your imagery is to create shape on your subject which is essentially what is occurring in this image. The key light provides a nice soft light on my subject and directly opposite of the key light is my edge/rim light. In order to achieve the blue background, I am using a 3rd light off to the left with a blue gel over the light which is causing the colored background.

Chase shot for LSKD in the studio using a 3 light setup.

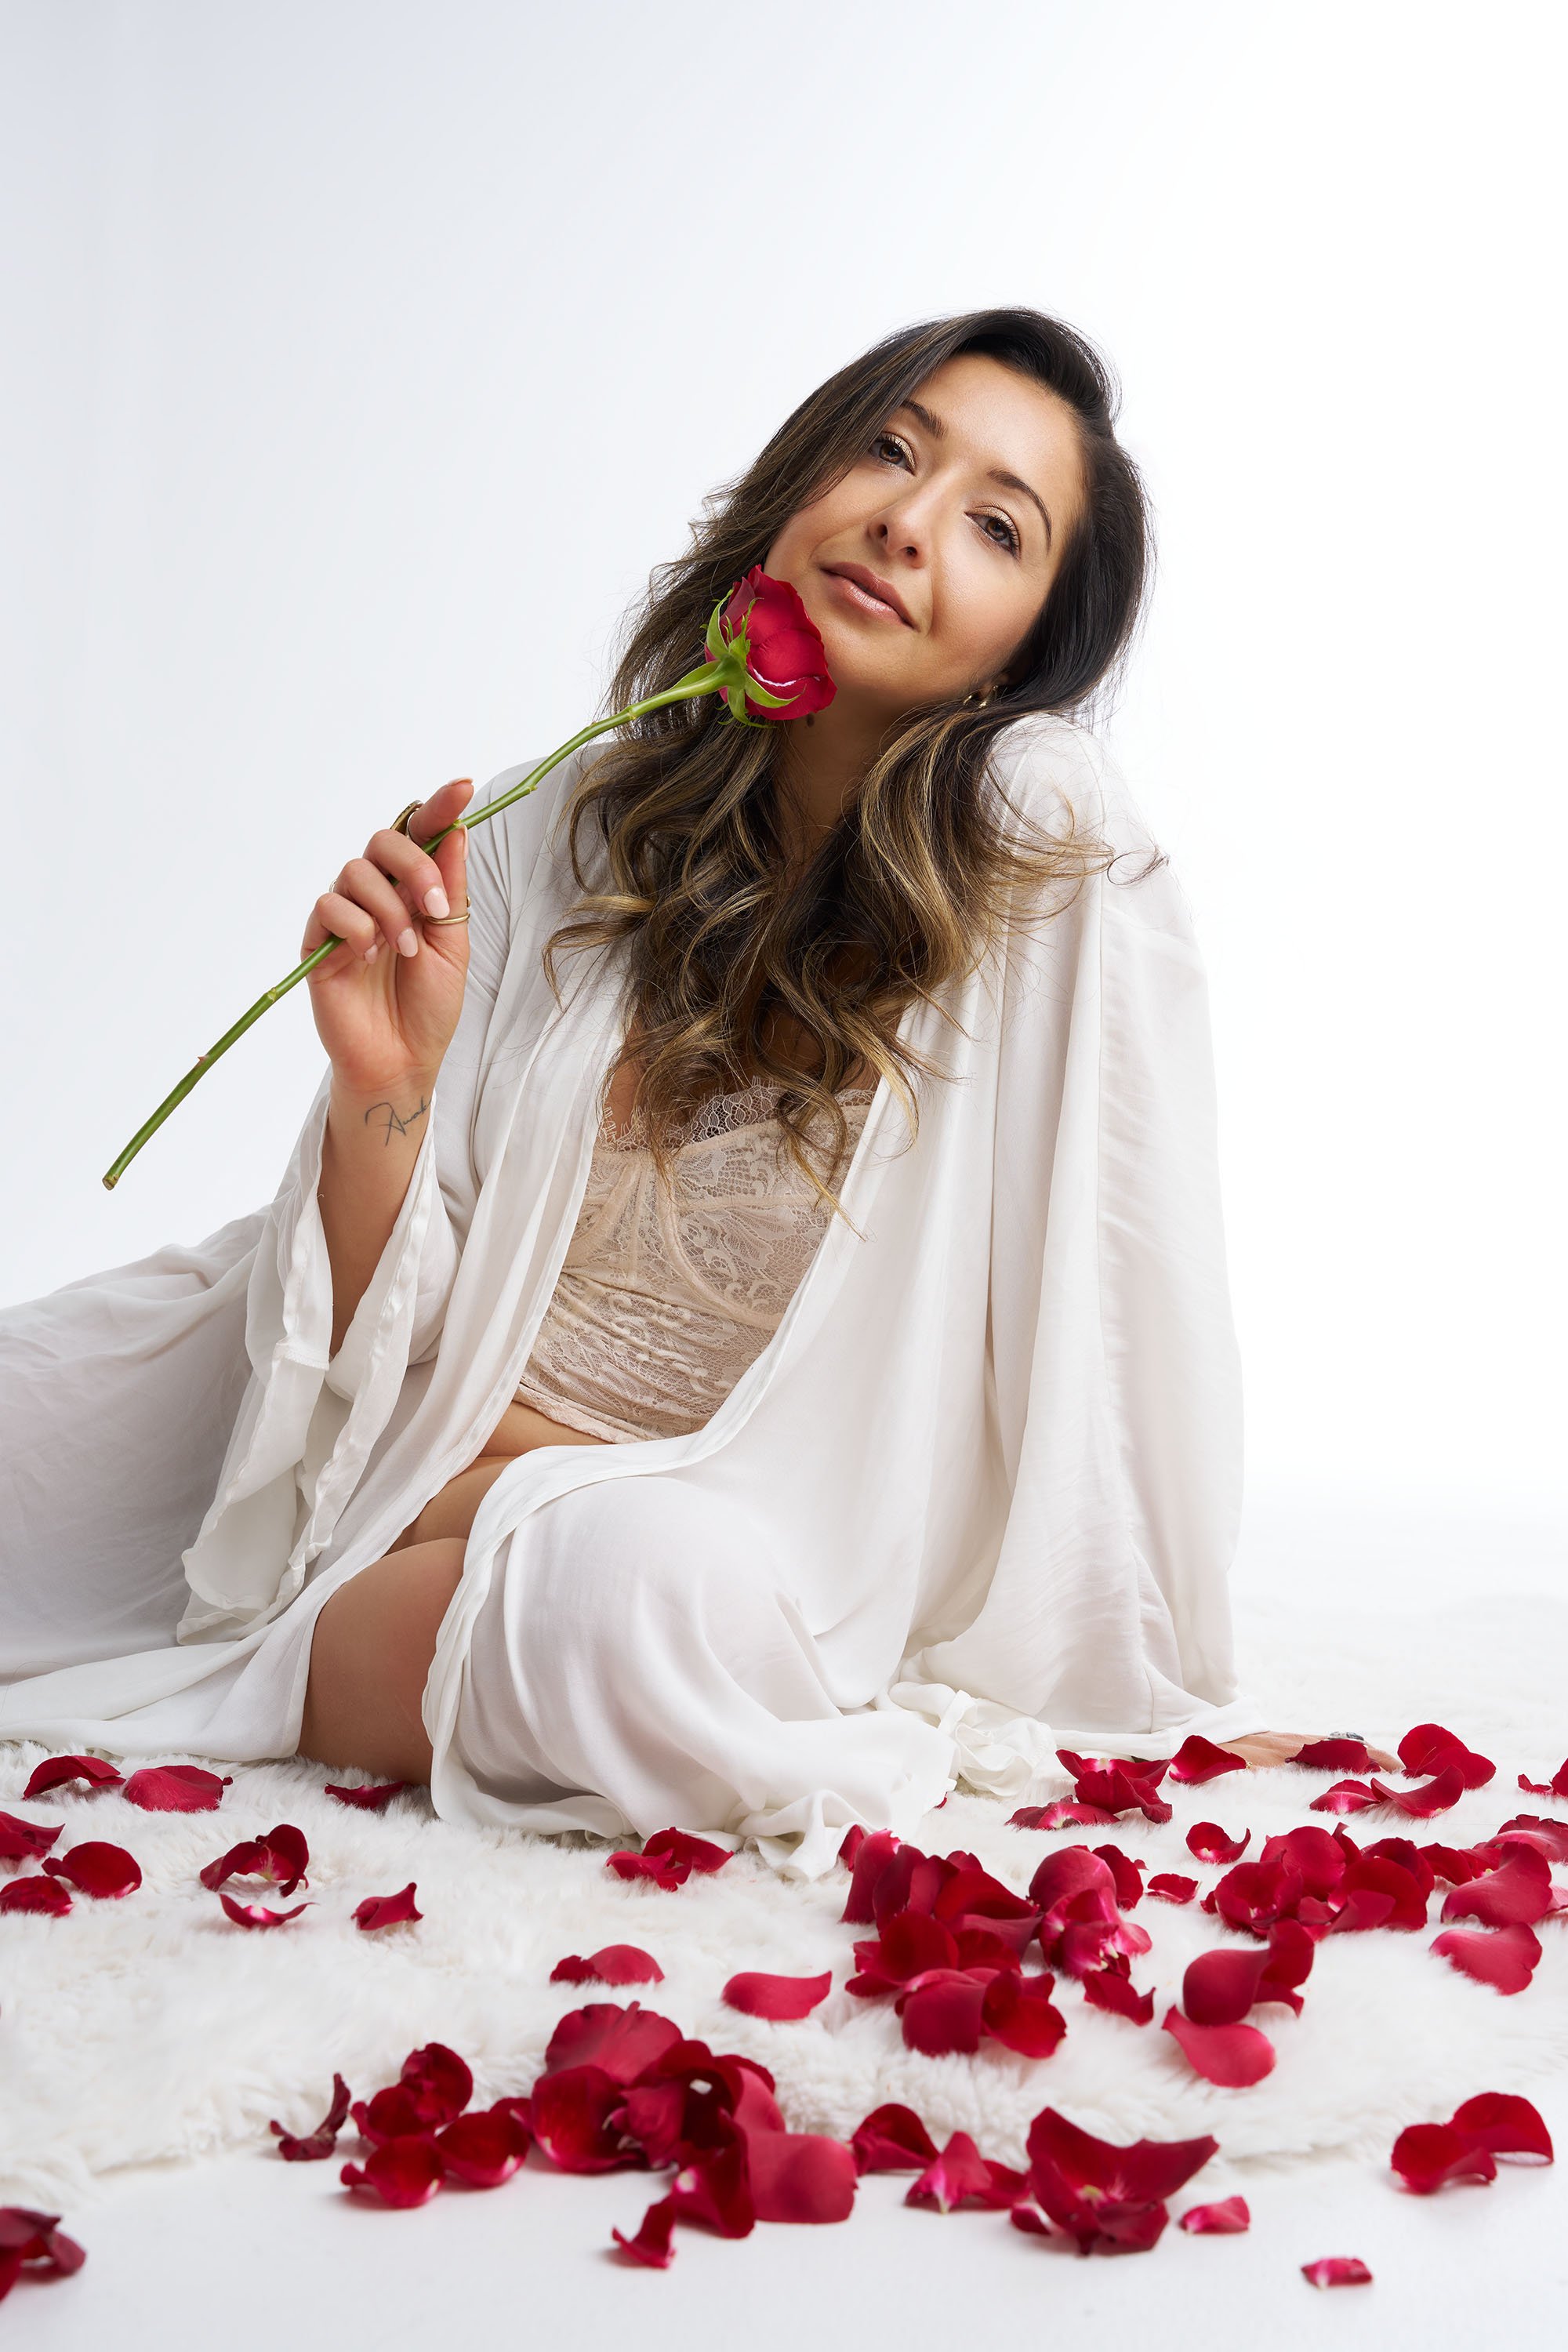
Chase and Sarah shot for LSKD in the studio with a 3 light setup.

Chase shot for LSKD in the studio using a 3 light setup.

On-Location Photography: 

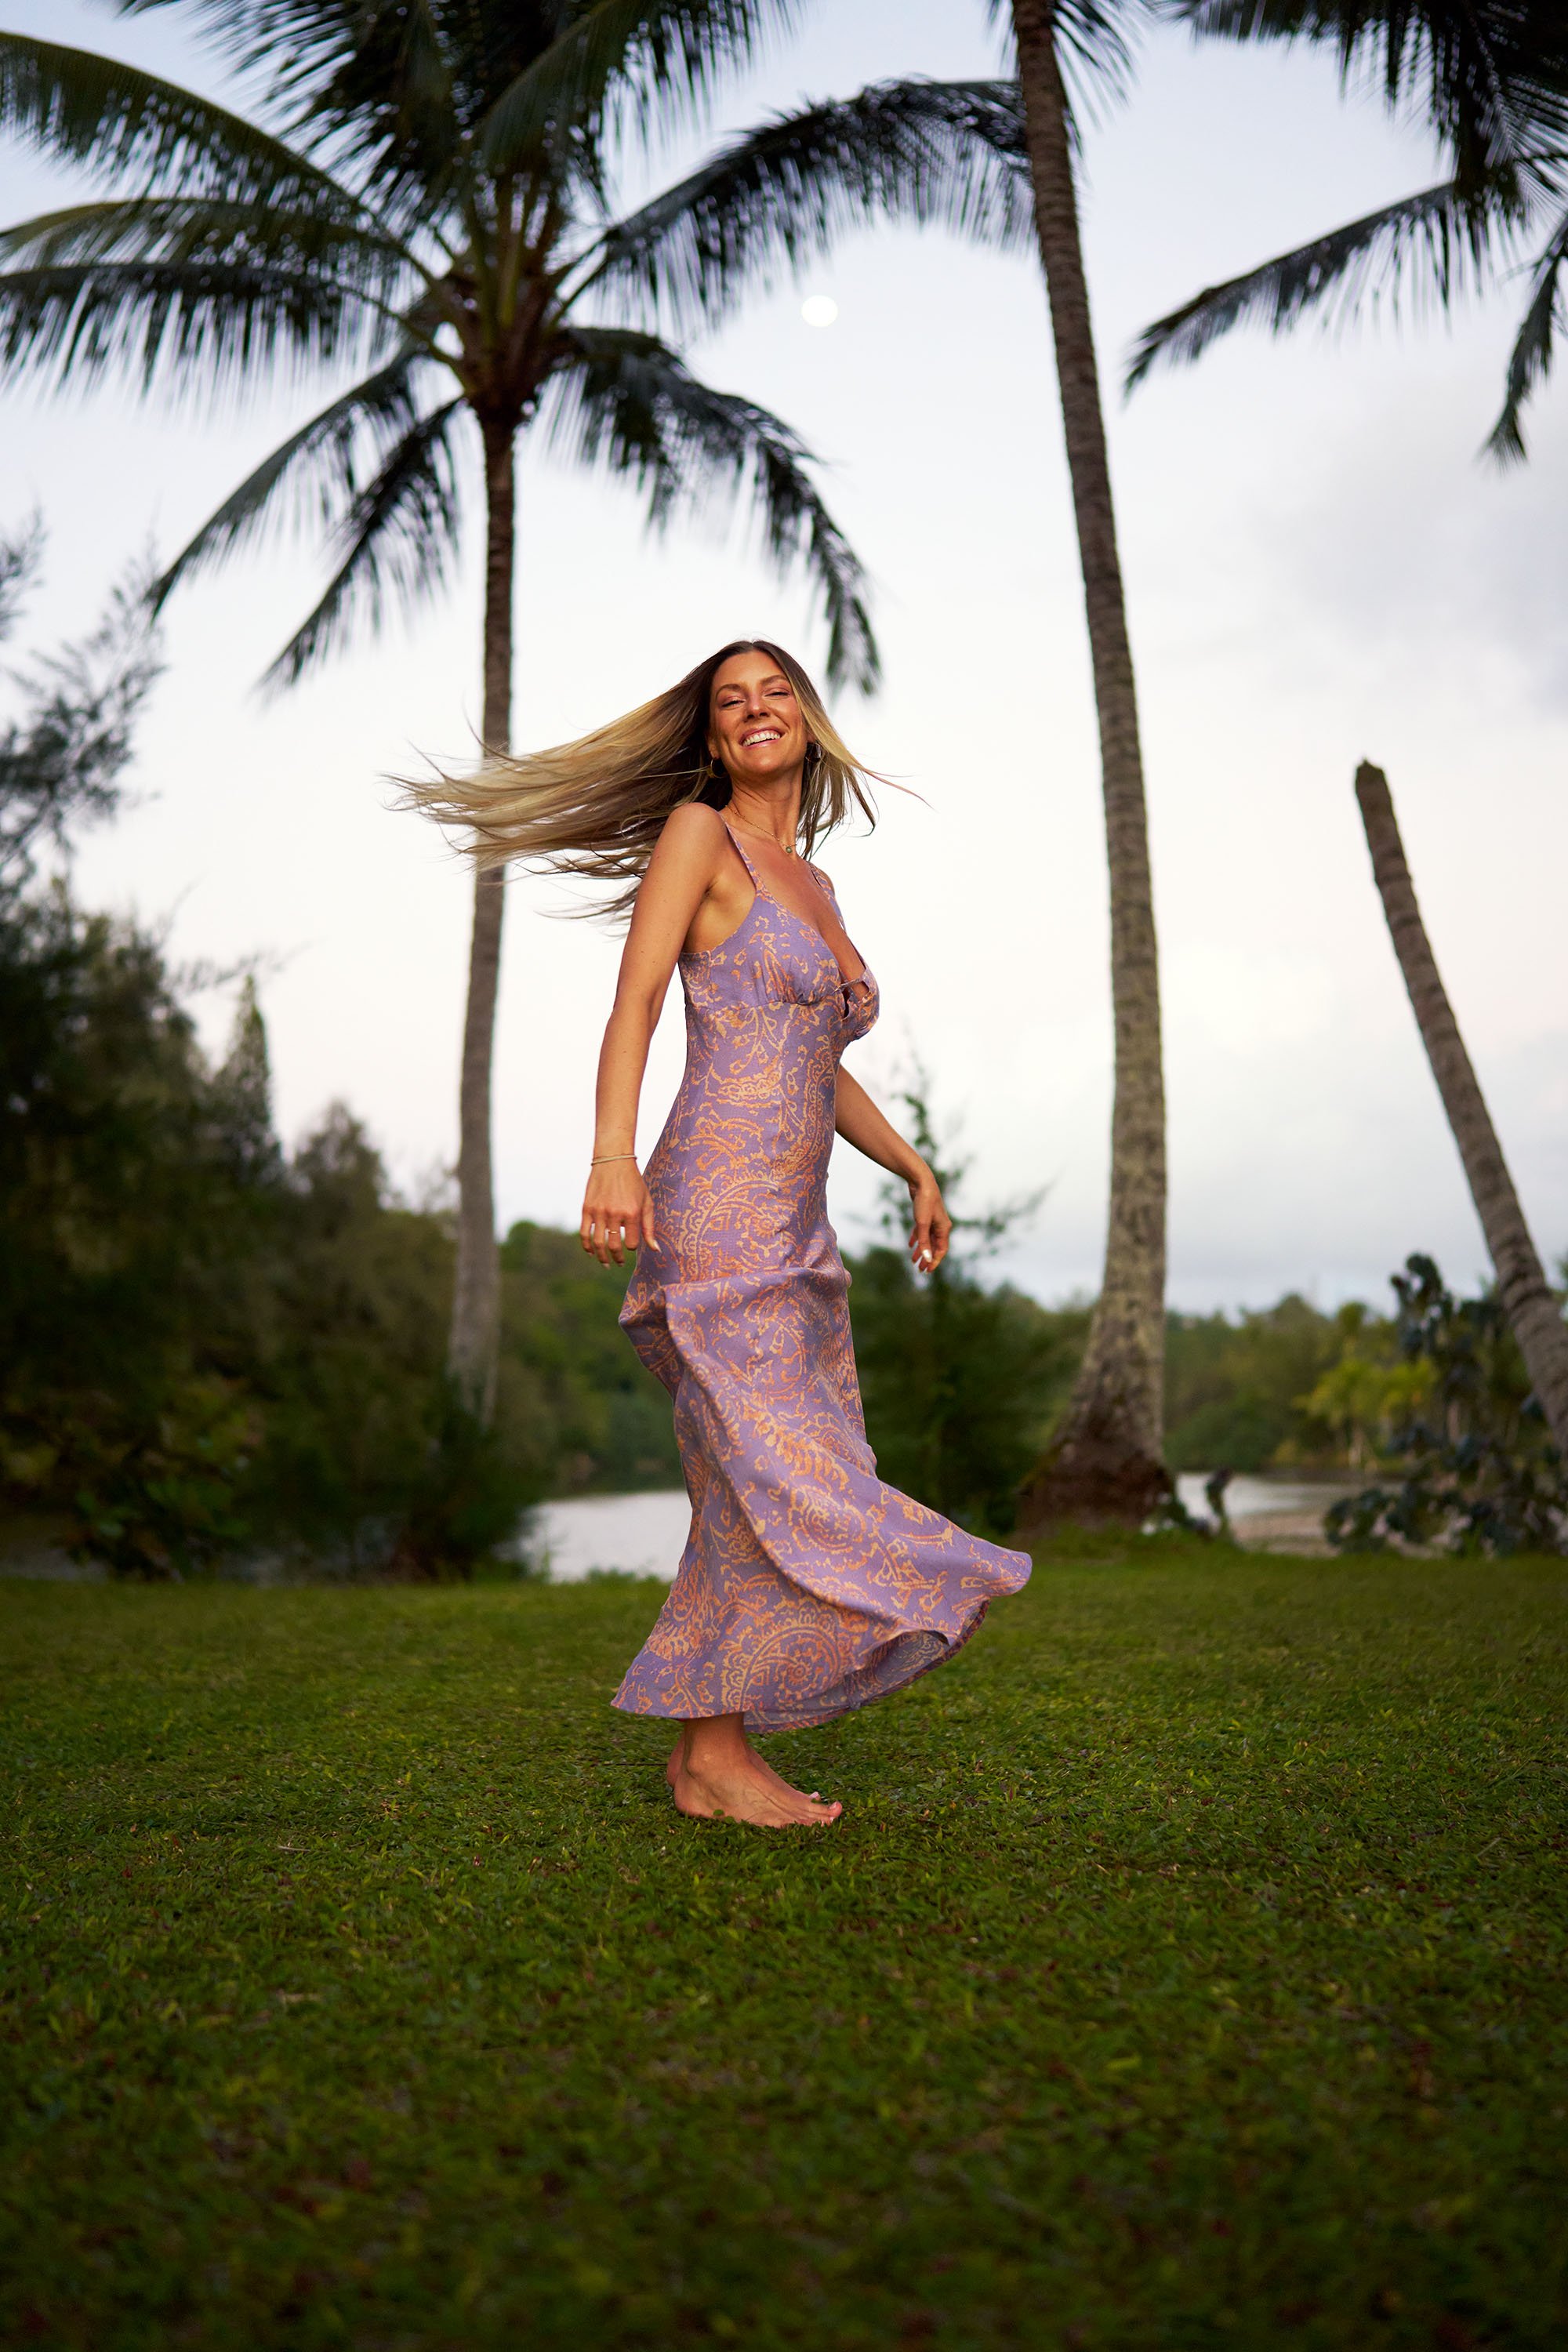
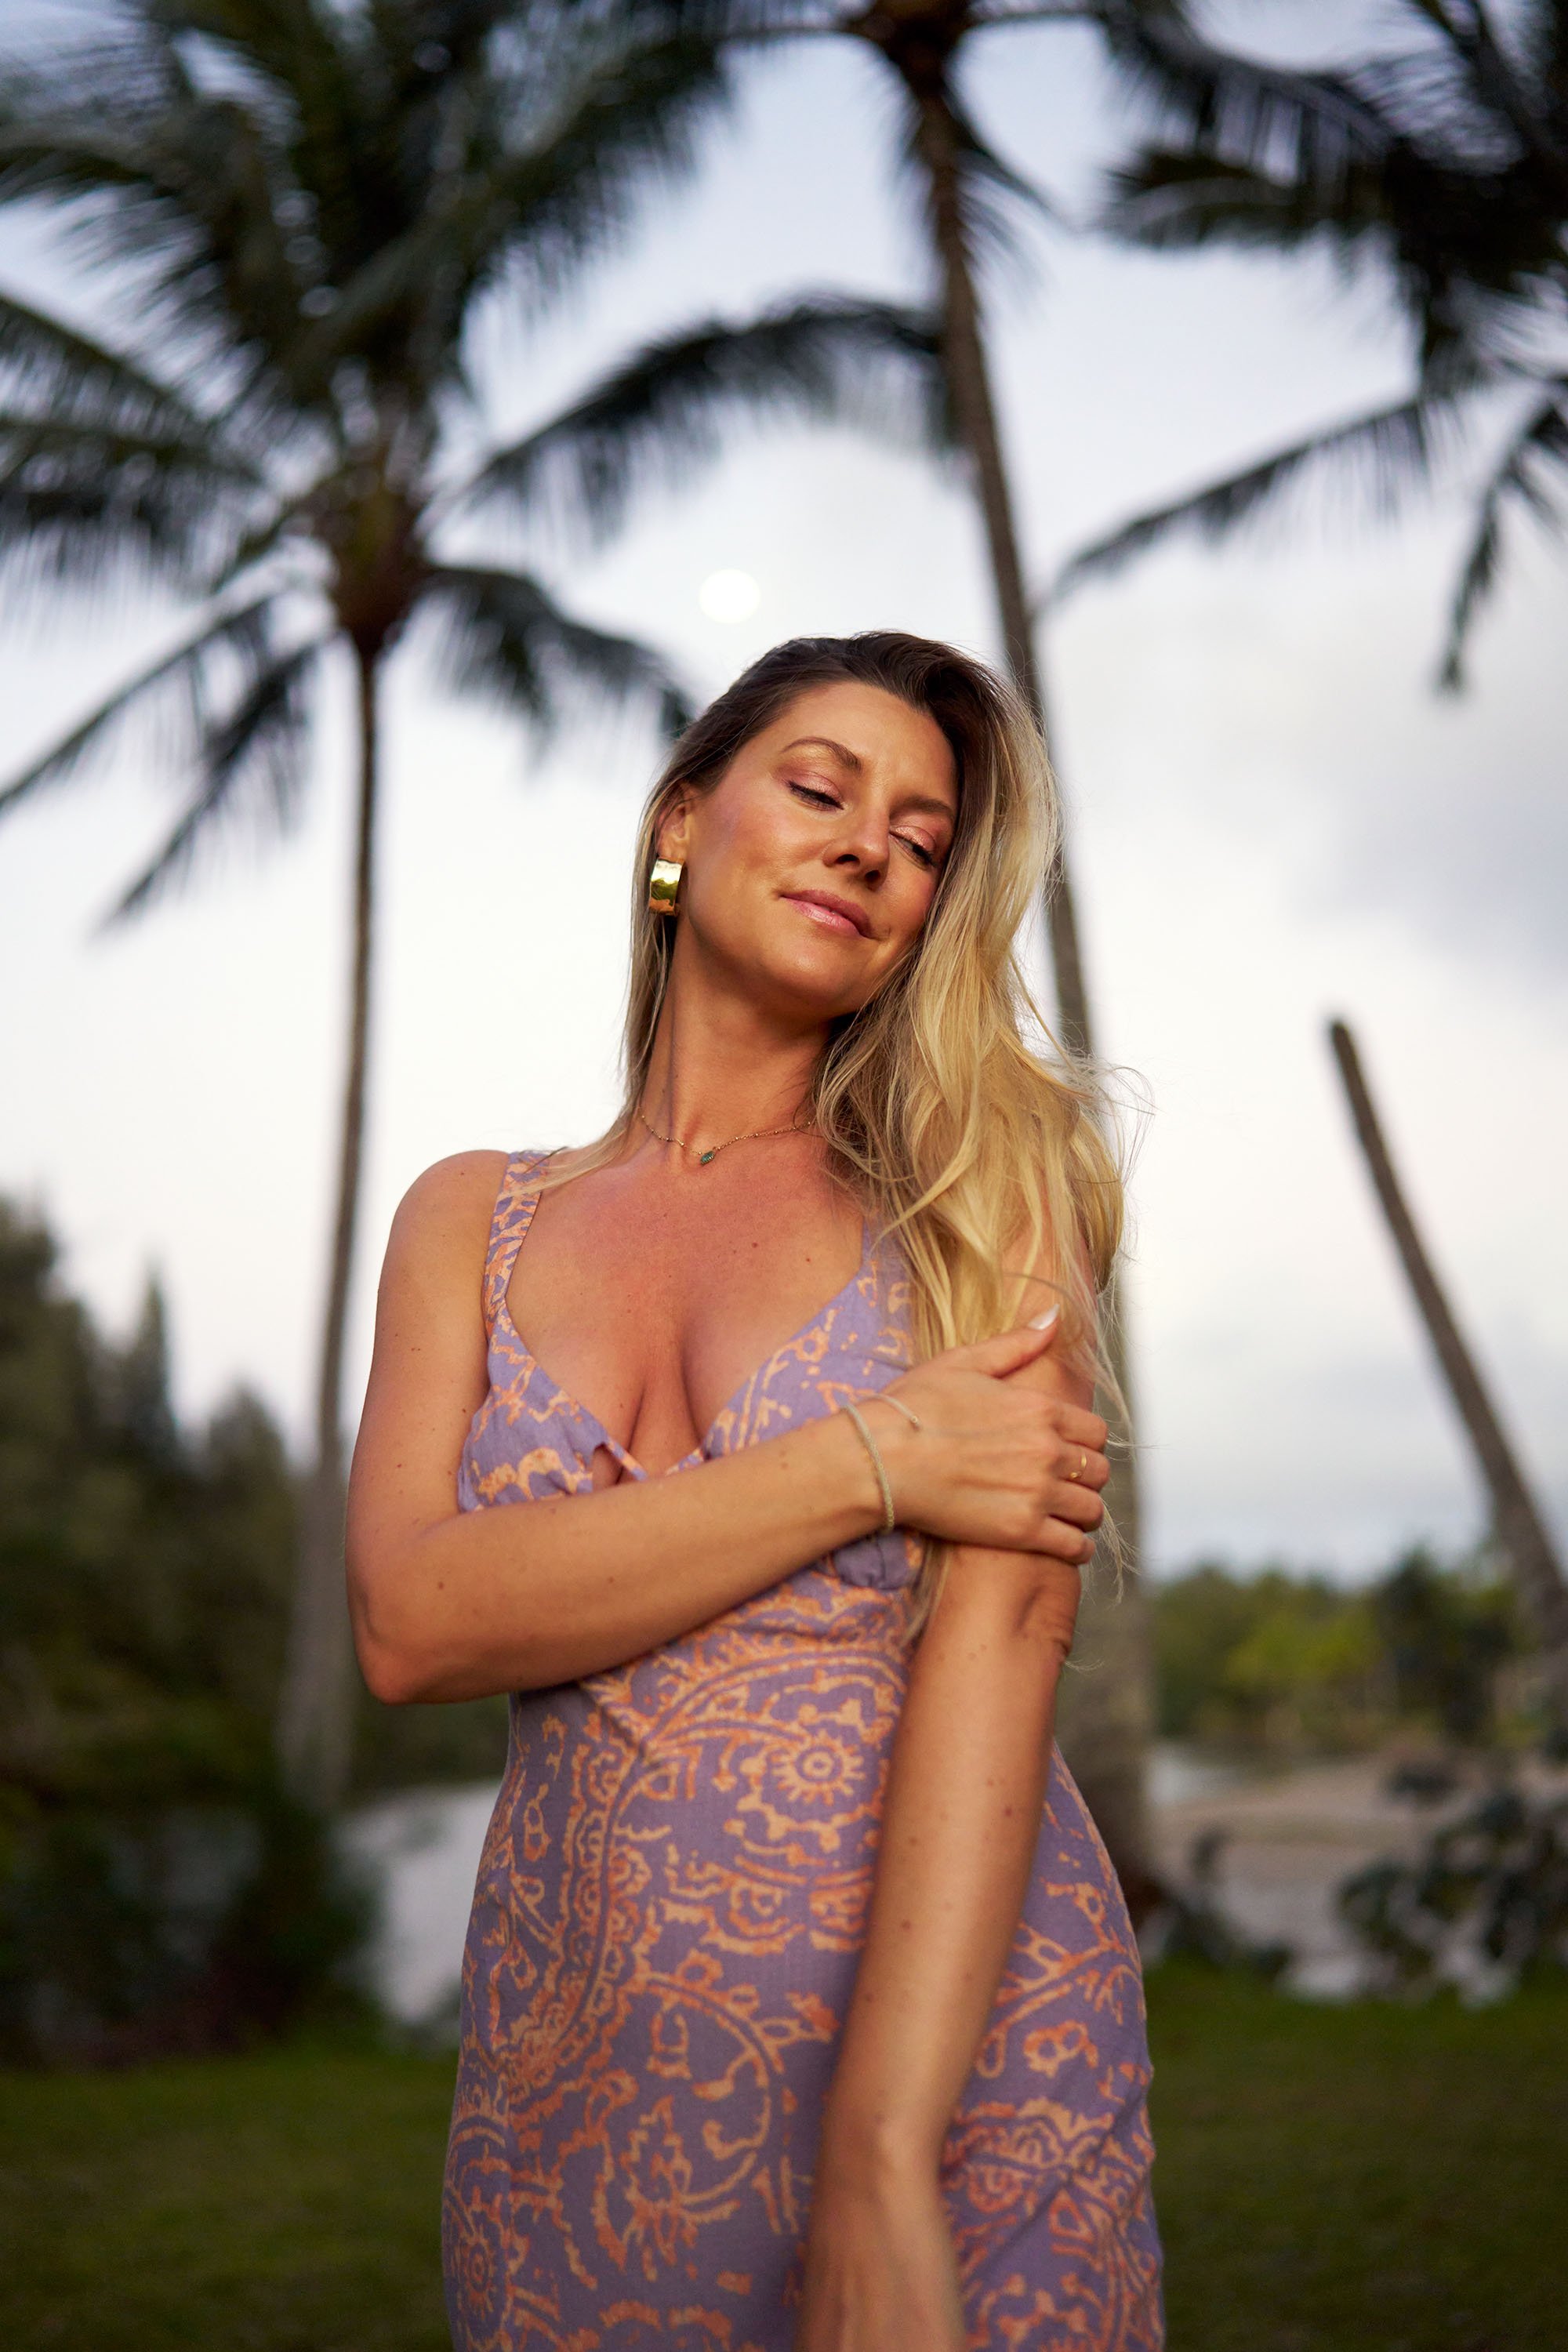
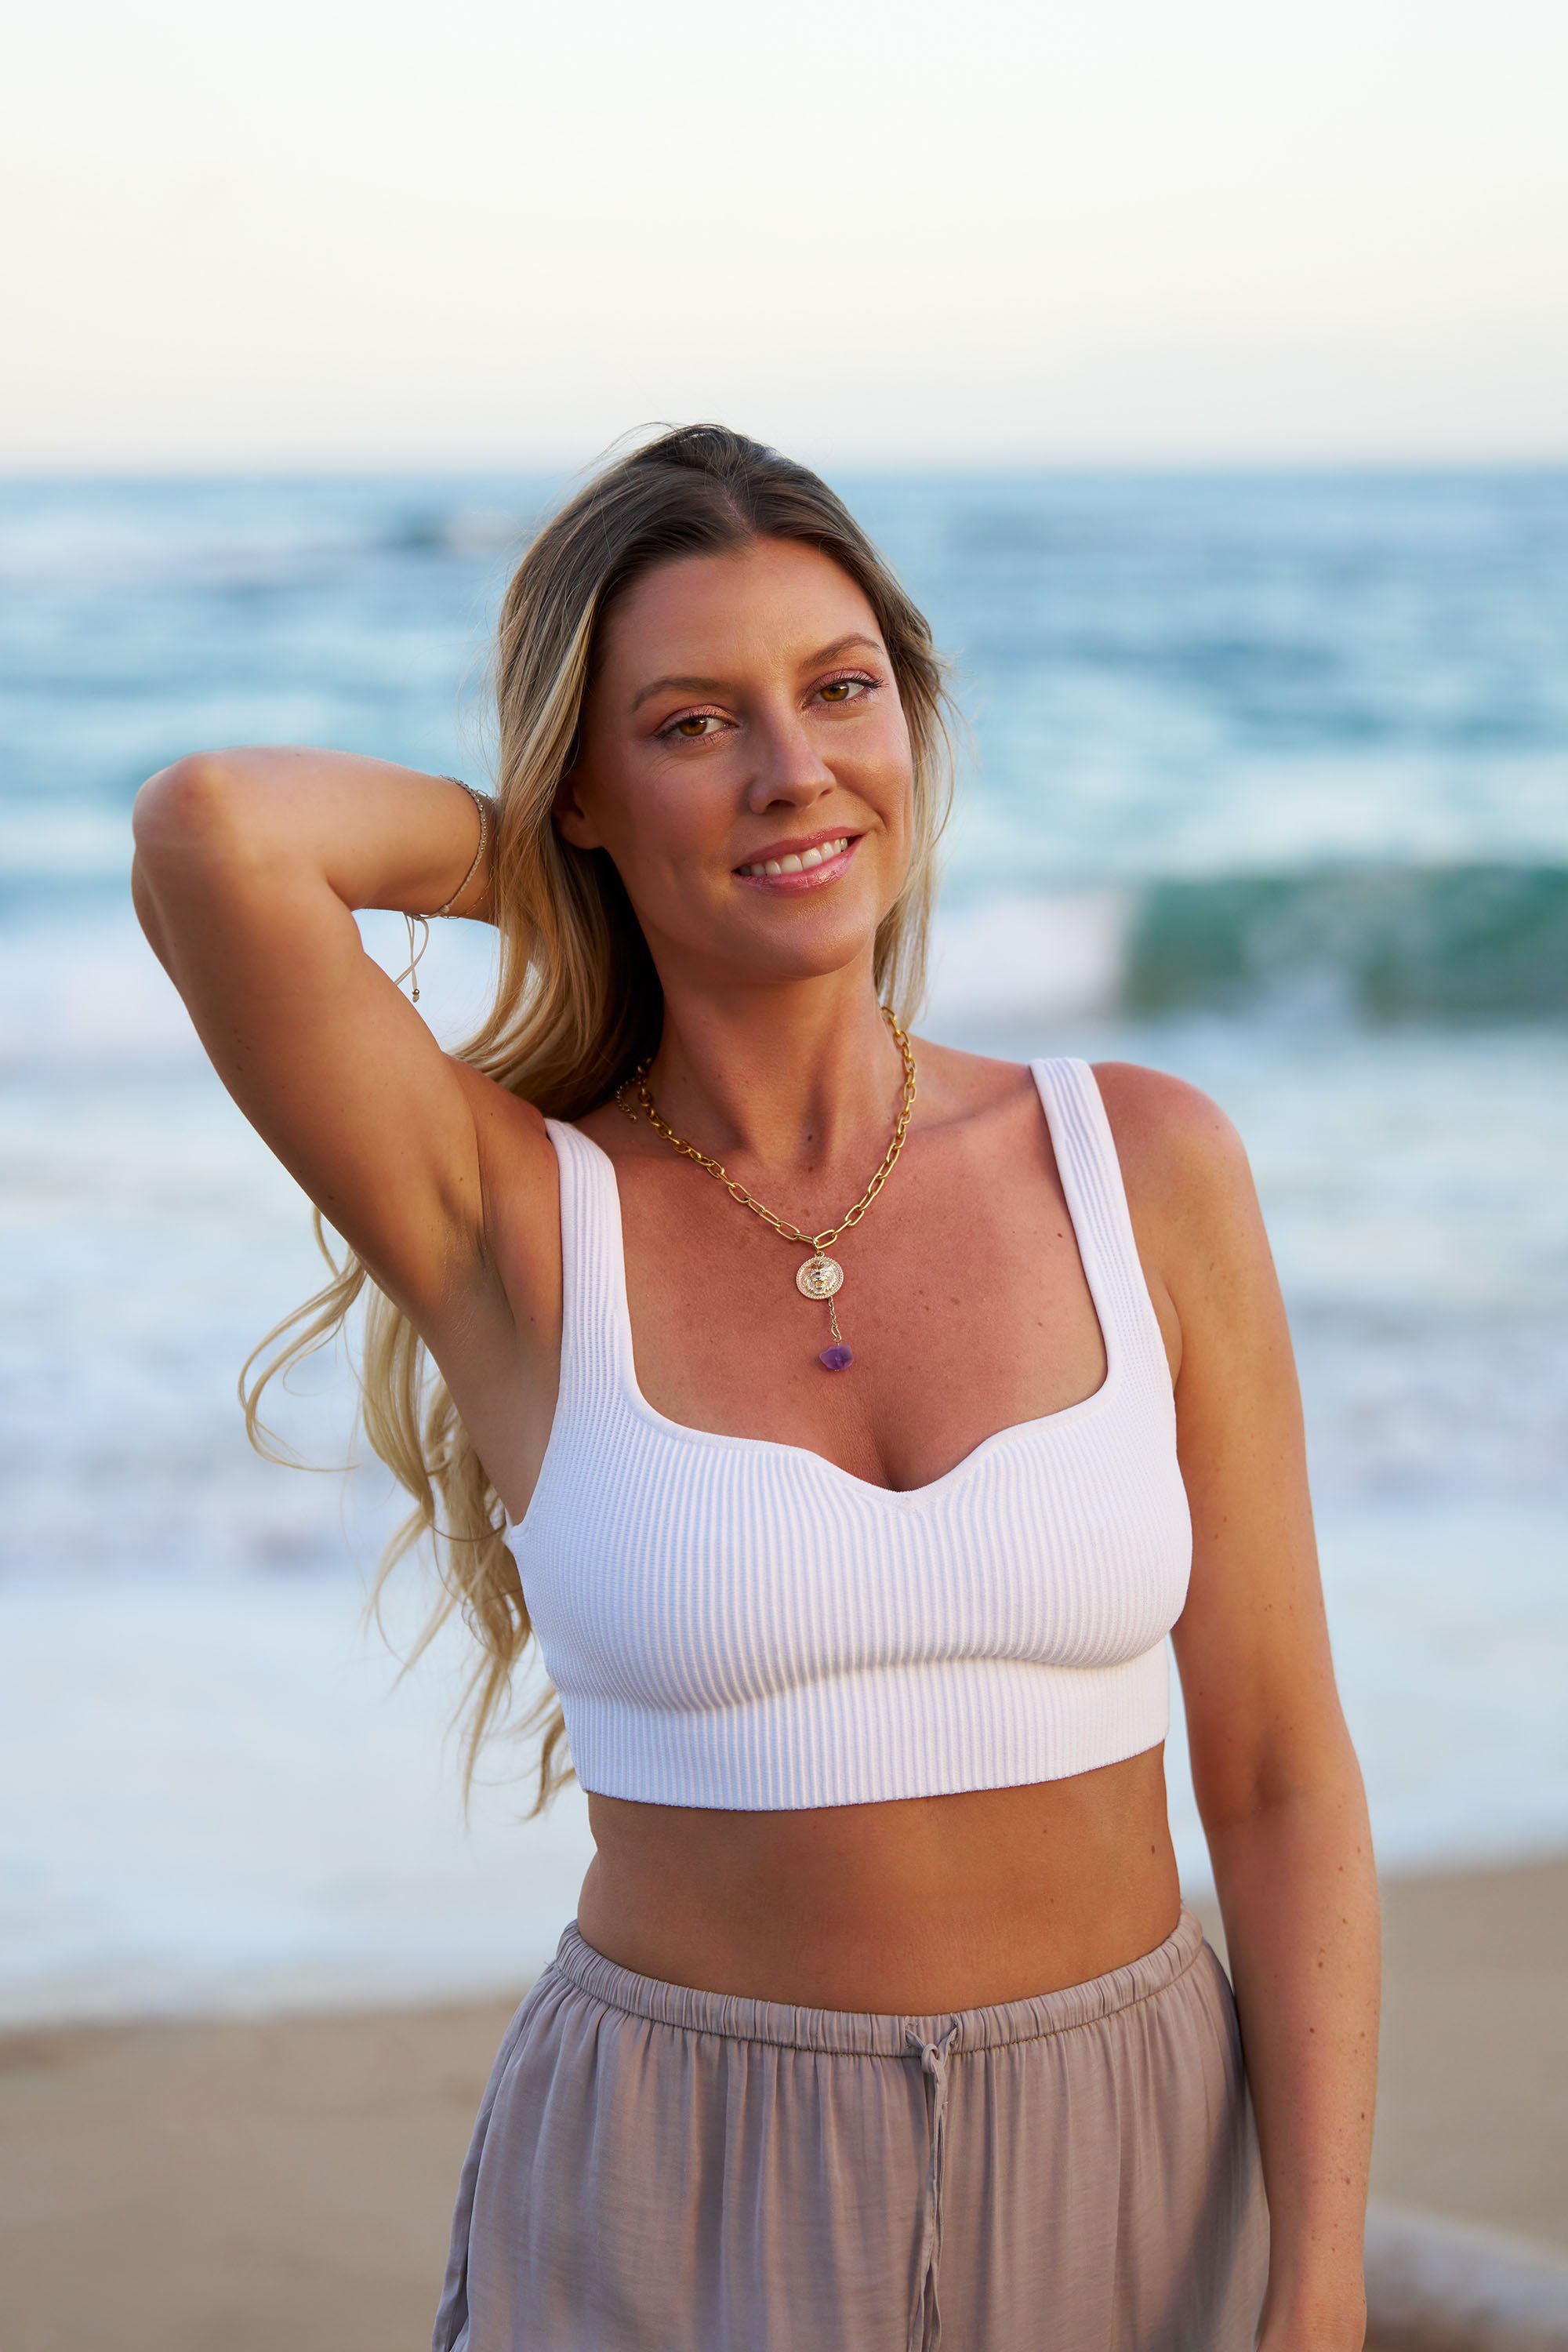
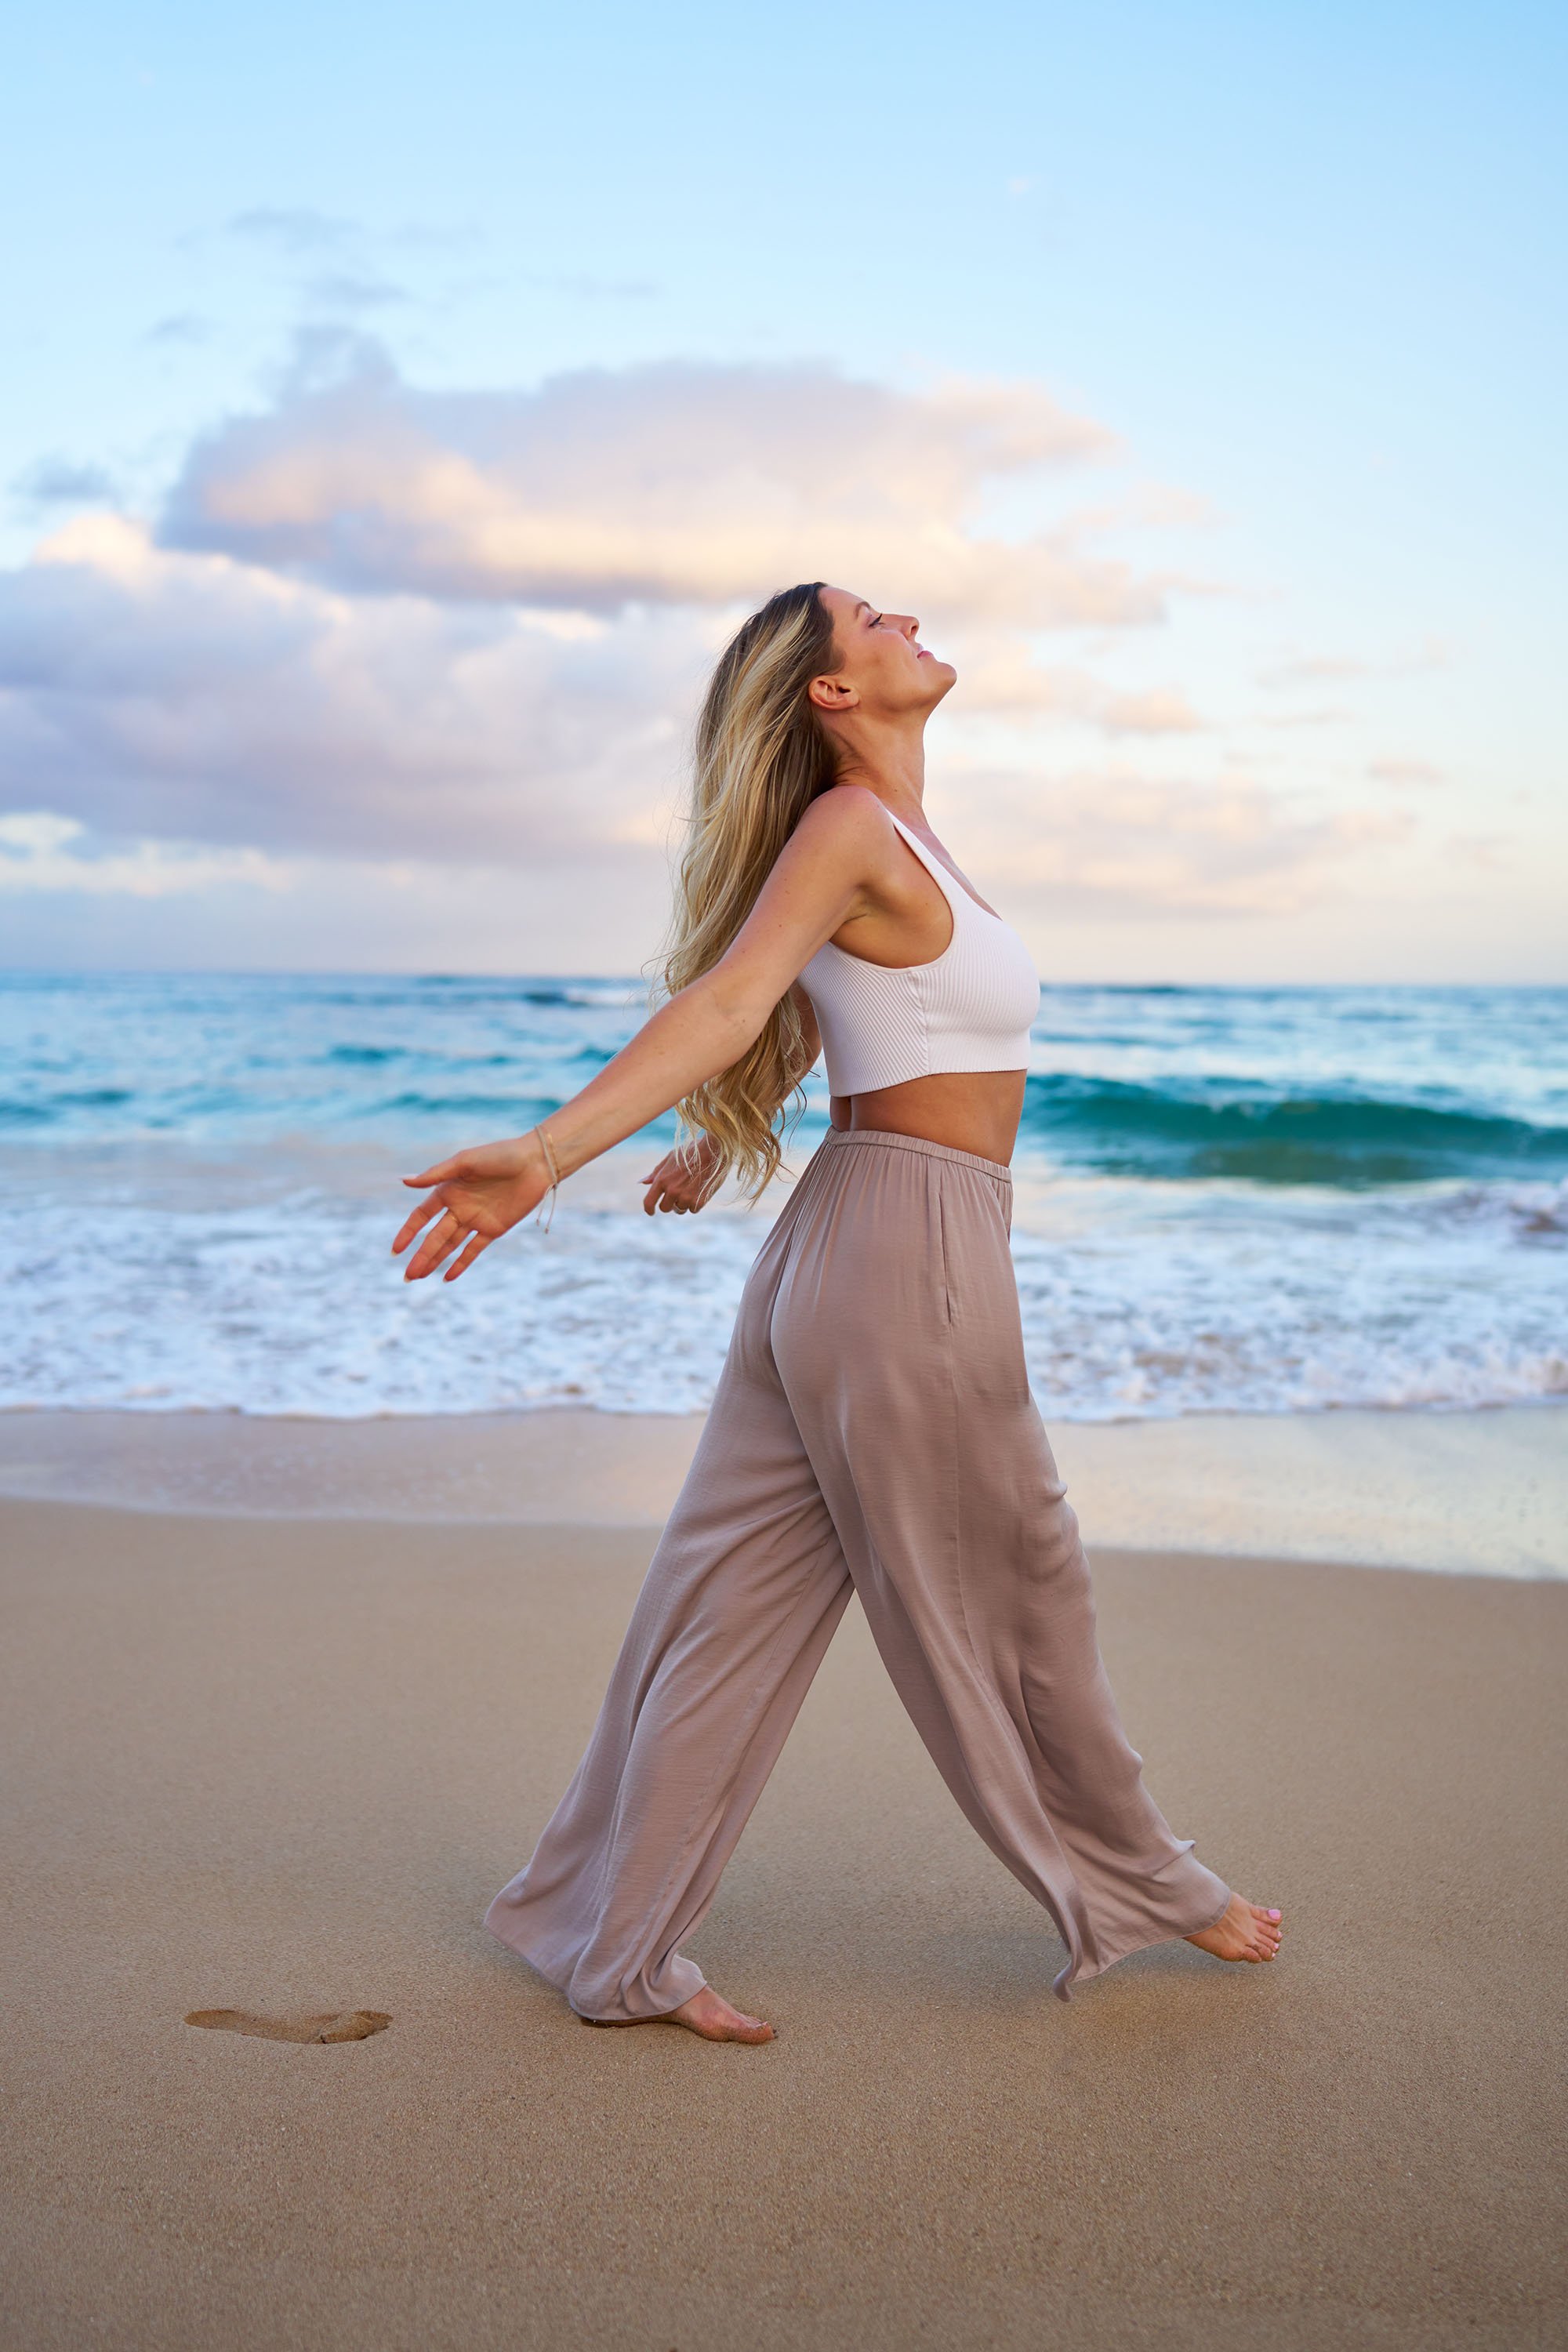
Unlike the studio, on-location photography is precisely what it sounds like. It involves shooting outside in different locations, including parks, streets, urban environments, and so on. This type of photography provides an authentic and natural look in your photos because the human eye is familiar with the light the sun provides. On-location shoots help bring out character from your scene, provides additional context and allows for a photographic story to come to life. Something to be mindful of when shooting on-location is the change in weather, rain, wind or overcast skies which could negatively affect the outcome of your shoot depending on the style or look you’re aiming to achieve.

• This series of images I shot for my client went through some overcast skies in the middle of the day which we just had to roll with the punches. The first image is with direct sun, as you might be able to tell by the sharp, harsh shadow created underneath Natalee’s body.

• In the second image with Chase doing an athletic sprinter’s move, you can see that the scene is rather flat and doesn’t have much contrast. Even his shadow is very faint due to the sun being behind the clouds. One of my favorite aspects to shooting on-location is the ability to use the environment in my composition. You can see that I positioned myself behind a rock and a tree, which provides depth and a unique perspective.

• The last image with both Natalee and Chase running together was at golden hour, where we caught the sun as it was setting which provides us a nice warm light source and some long shadows.

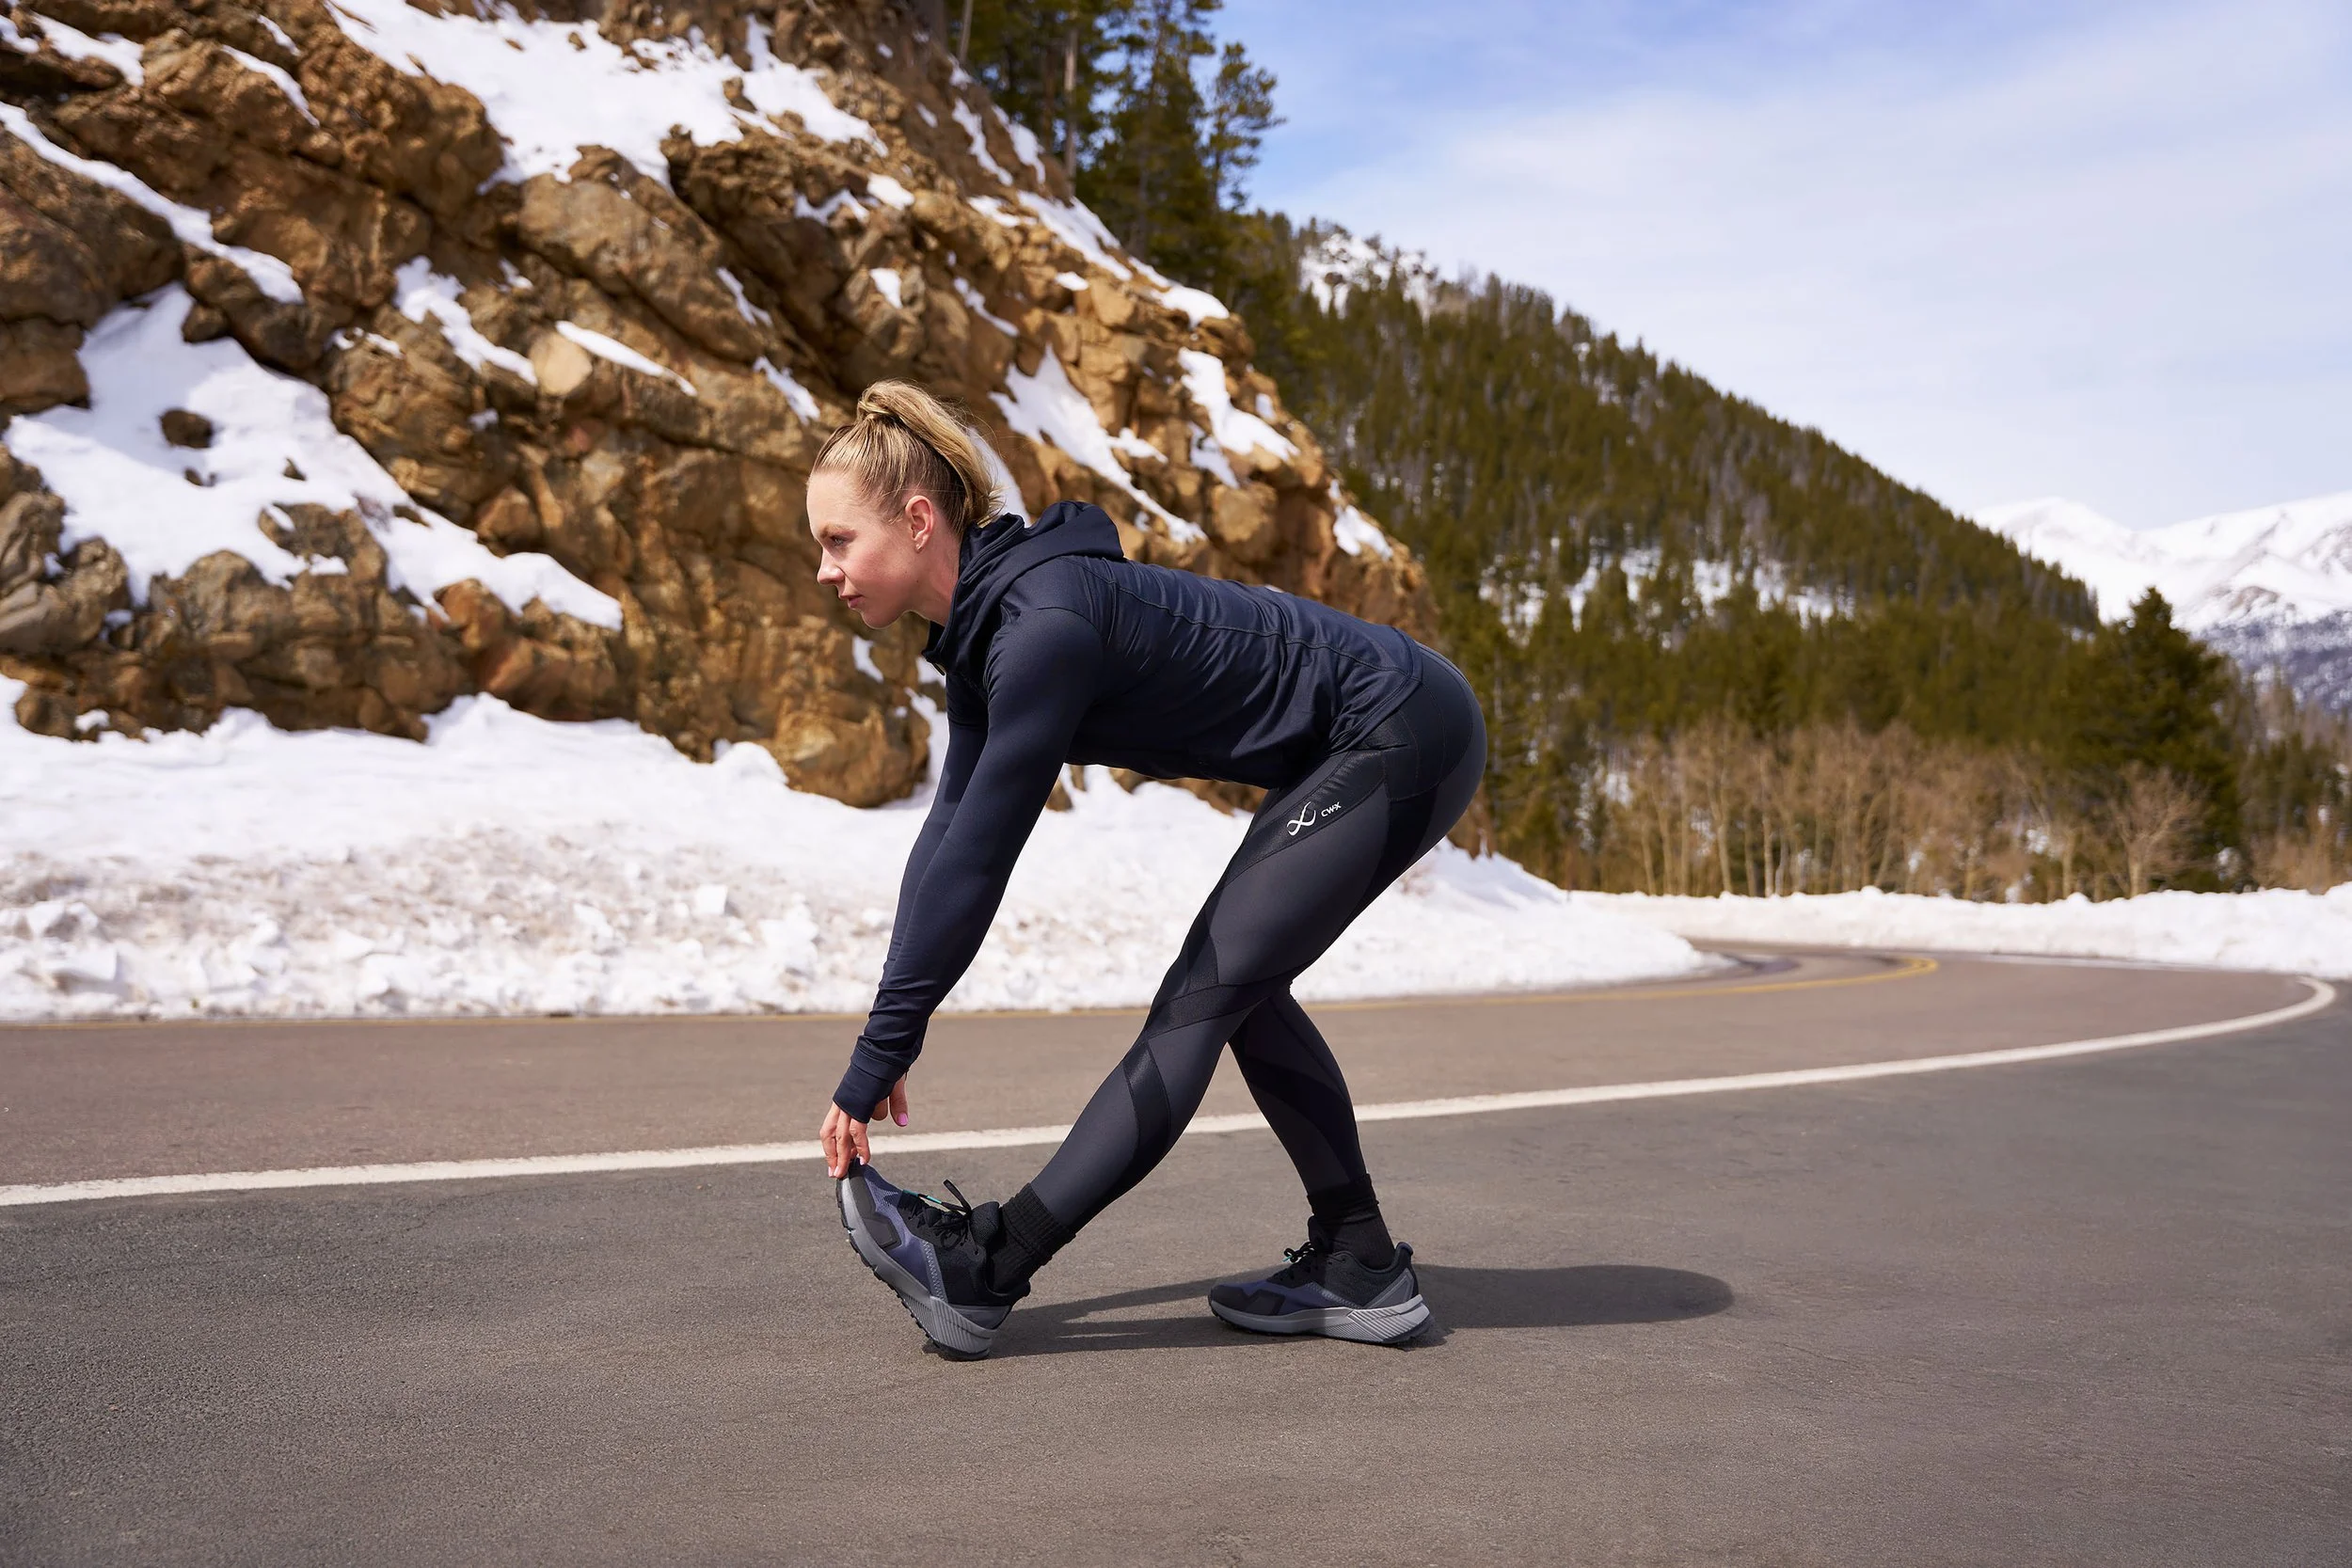
Natalee photographed for CW-X using natural light in Rocky Mountain National Park.

Chase photographed for CW-X using natural light in Rocky Mountain National Park.

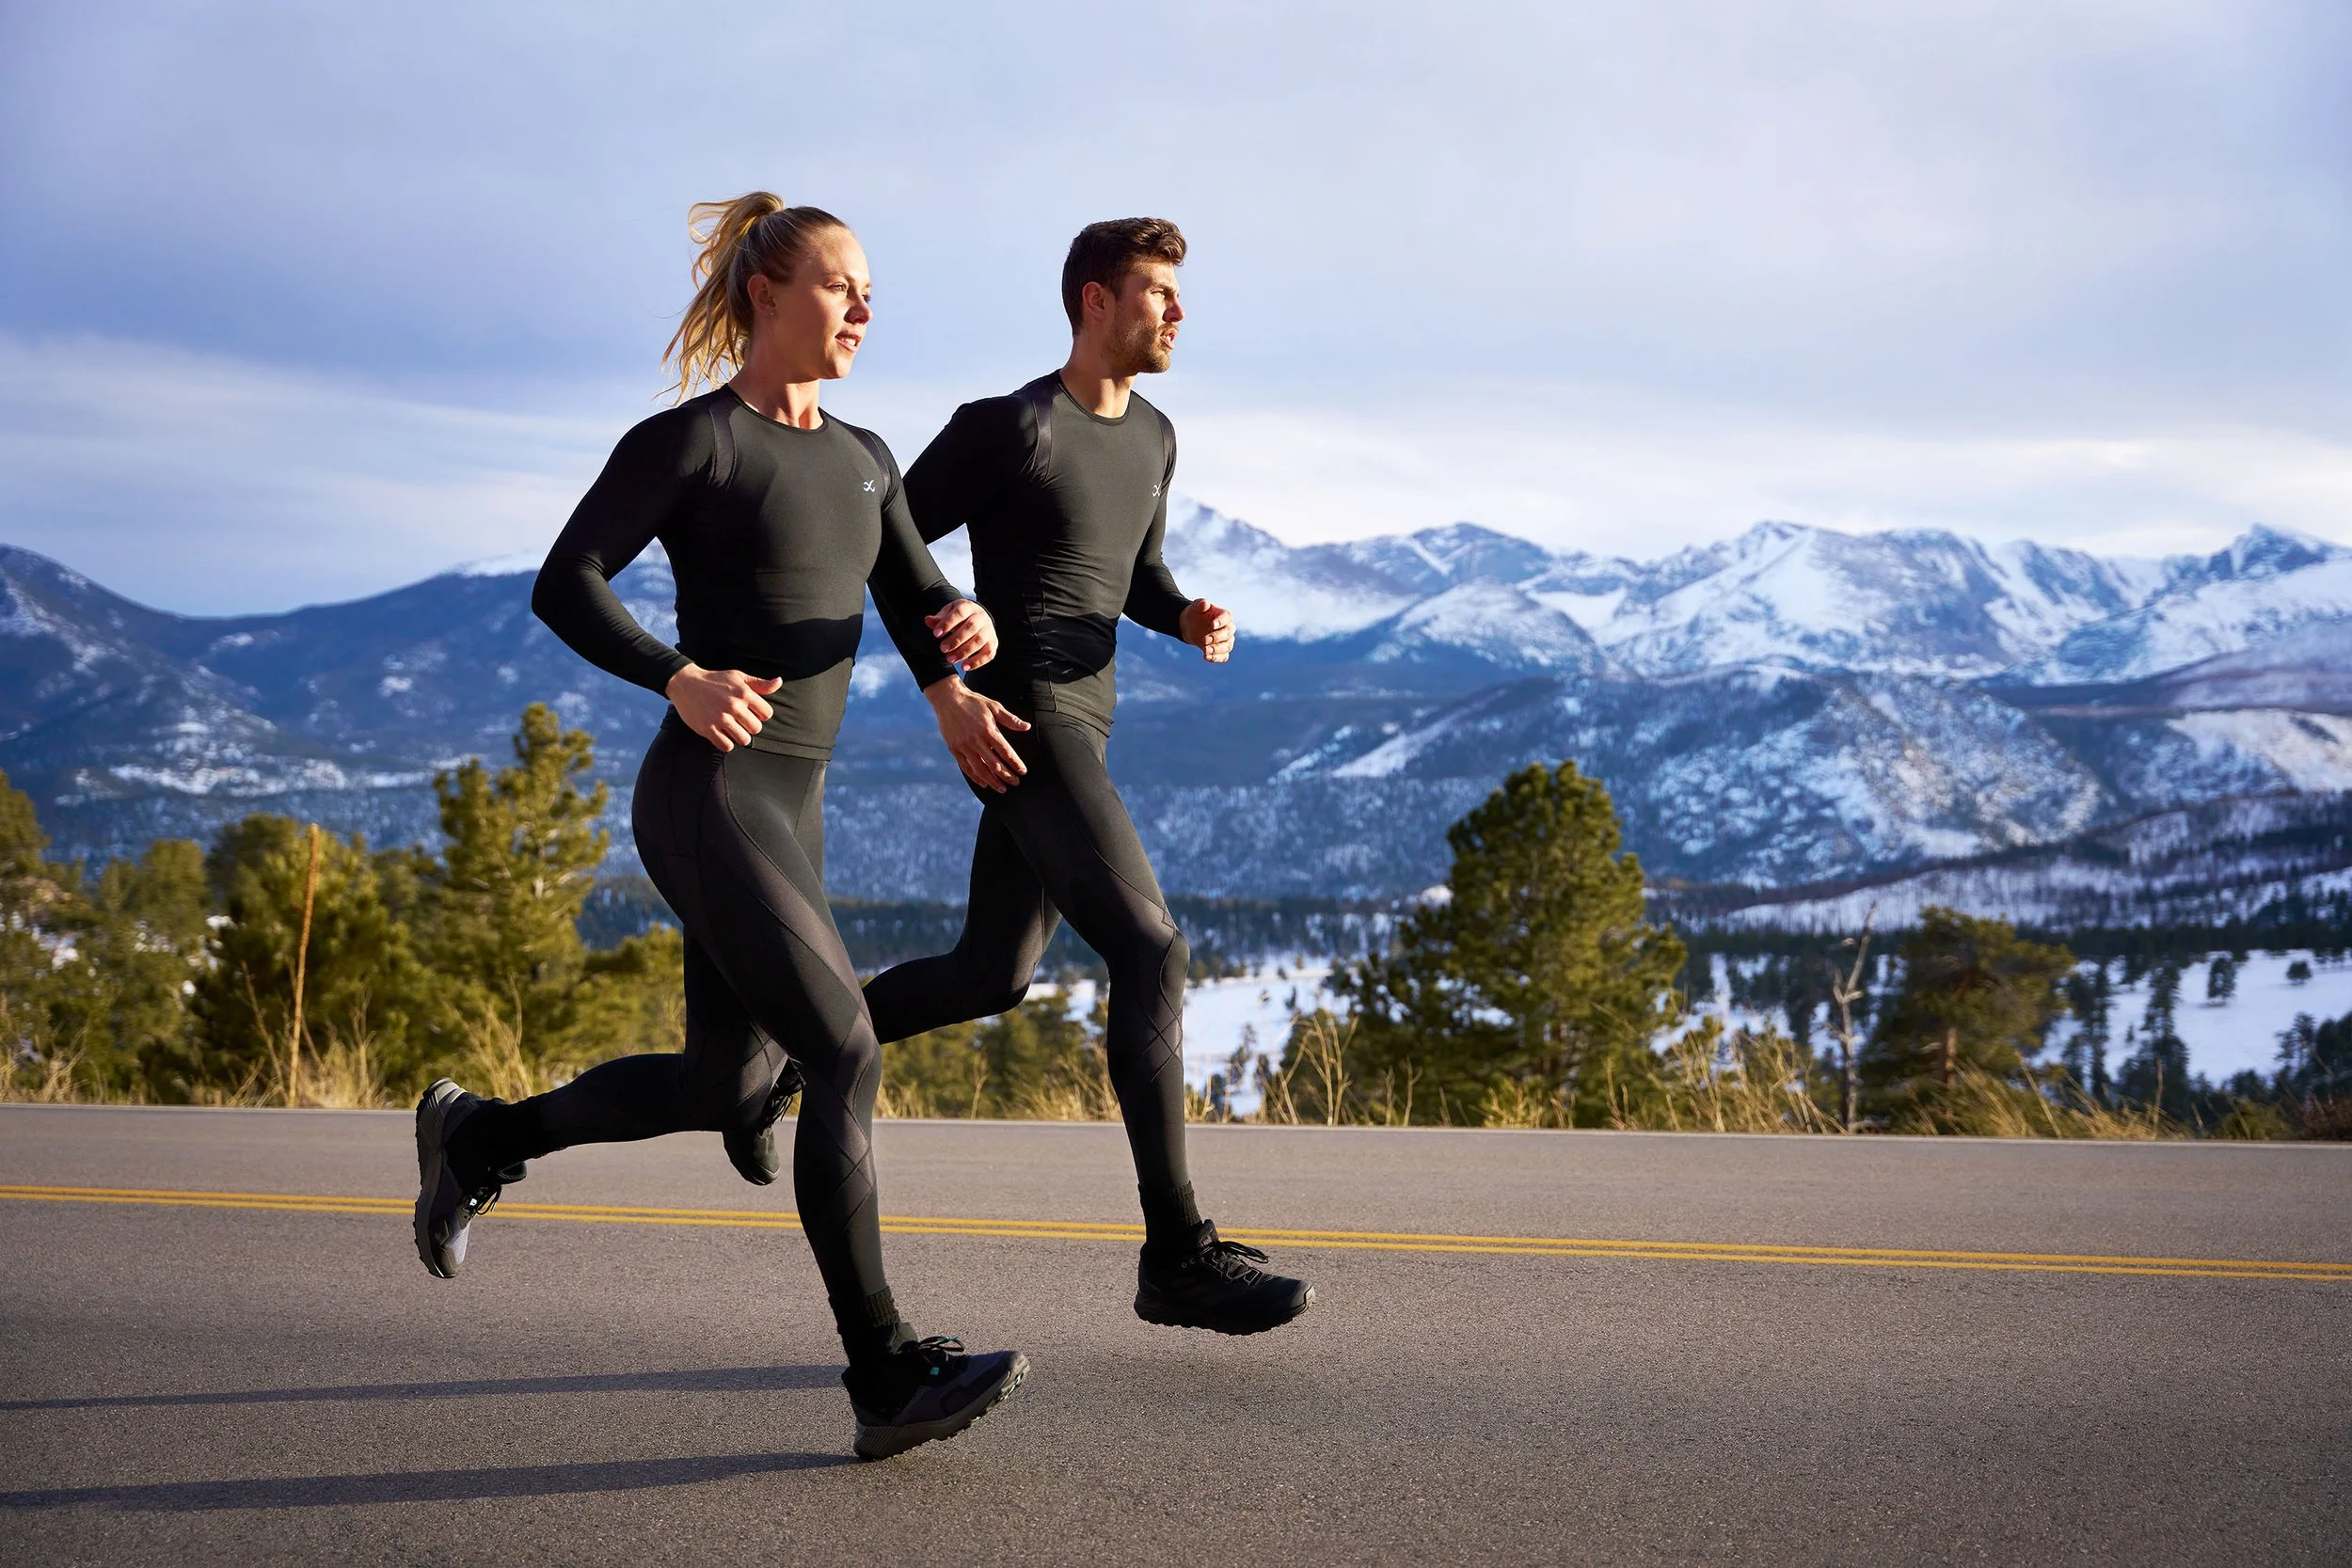
Natalee and Chase photographed for CW-X using natural light in Rocky Mountain National Park.

Equipment & Props: 

When it comes to studio photography, photographers usually have more control over the environment, which means they can choose from an array of backdrops and props, such as artificial lights, backgrounds, and lighting accessories that they can use to enhance their images. In contrast, on-location photography requires you to work with only the available resources to create a stunning photograph. There is an option to use battery powered strobes to light your subject or scene while on-location, but this typically requires more of a team to help you out which may not be easily available to someone who is first starting out. Photographers may use natural props, such as flowers and trees, or in urban settings, benches and walls to add depth and interest to photographs. The equipment used in both methods might also differ, depending on the type of project - whether that’s more portrait focused, or product focused. Studio photography requires a lot of specialized equipment, such as flashes, backdrops, reflectors, and so on, whereas on-location photography requires much less gear, such as cameras, lenses, tripods, and more compact lighting options.

Post-Processing:

Post-processing is an essential part of the photography process where you can further implement your unique style, and truly bring an image to life. Dodging and burning can really help accentuate your subject’s face in a portrait image, and that goes for the same on a product or automotive image as well. Color toning, vignettes, and other effects are stylistic choices that differ from each artist. I encourage you to play around with different styles to find what works best for you and how you’d like to represent your work. Bonus tip - I really enjoy browsing Behance, Pinterest, and Instagram to draw some inspiration from other artists. I find that this helps keep me inspired and itching to create or try something new, or just to refine my skills.

Conclusion: 

Studio and on-location photography methods offer their own unique advantages and disadvantages. Ultimately, it all comes down to the photographer's preference, the client's needs, and the project's mission. Understanding the differences between these two methods can help you make an informed decision about the best way to approach your next project. Whether you choose the studio method, the on-location method, or a combination of both, there are many options available to photographers at all skill levels.

Thanks for stopping by and I hope this post provided some value to you!

Much love,

DJ

The Benefits of Natural Lighting vs Artificial Lighting for Photography

The Benefits of Natural Lighting vs Artificial Lighting for Photography

The use of proper lighting is essential in creating beautiful and stunning photographs regardless of whichever subject you are shooting with. Lighting can affect the mood, tone, and color of the images. In photography, there are two main lighting sources: natural and artificial. Natural lighting refers to the light that comes from the sun, while artificial lighting is produced by man-made sources such as strobes, continuous lighting, LEDs, or even lamps. In this post, we will discuss the benefits of natural lighting over artificial lighting, and how to take advantage of it to enhance the quality of your photos.

Natural light is easily accessible

One of the most significant advantages of natural light is that it is abundant and can be utilized for photography for a good 10-12hrs each day. The sun is a naturally specular light source, which means you may have to modify or manipulate it. A specular light implies that the light being produced from the source is harsh and rather intense. If you look at any shadow in an image, this is a key characteristic of specular light - hard shadows with defined edges. You can use a reflector on the opposite side of your light source to help fill in shadows on your subject if the natural sunlight is producing hard shadows. You can also use some form of diffusion to put between the sun and your subject - the DIY way of doing this would be to use a shower curtain or something that has a frosty effect. I’ve seen many DIY videos of people fabricating some pvc pipe to make a square or rectangle frame and attaching the diffusion material to this with gaffer’s tape. For anyone who’s curious on what that process might look like, here’s a sample link. This will help give a softer look to a portrait or provide large, clean highlights on reflective products.

Here are some images I grabbed of my wife, Melissa, on our honeymoon in Kauai with only using natural light. Sigma Art 35mm ƒ/1.4 were used on images 1, 2, and 4. My 70-200mm ƒ/2.8 achieved the creamy background and compression for shot number 3. Both series of images were shot as the sun was already down, that’s why it’s very soft and has a warm glow and you really can’t identify shadows by the base of her feet.

Natural light provides a sense of depth and dimension

Natural light can also create a sense of depth and dimension in photographs. The way the sunlight falls on the subject can create a shadow or highlight, which can give the photo a three-dimensional look. Moreover, natural light can also reveal texture and patterns in the subject, making the photo more appealing and intriguing.

Natural light is cost-effective

Another advantage of natural light is that it is cost-effective. You don't have to spend money on expensive lighting equipment or rent a studio to achieve good lighting. All you need to do is find a good location with ample sunlight, and you're good to go. Also, natural light is available everywhere, whether you're shooting outdoors or indoors near a window.

Natural light is versatile

Natural light is also versatile, as it changes throughout the day. The quality and intensity of the light depend on the time of day, weather conditions, and location. You can take advantage of different lighting conditions to create many different moods and styles in your images. For example, you can shoot during the golden hour, when the sun is low in the sky, to achieve a warm, glowing effect. Alternatively, you can shoot during the blue hour, when the sun has set but the sky still has some light, to create a dramatic and moody atmosphere.

Natural light can improve your skills

Finally, using natural light can also improve your photography skills by forcing you to adjust on the go. Since natural light is constantly changing, you need to be able to adapt to these changes and adjust your camera settings and compositions accordingly. This requires a good understanding of exposure, composition, and lighting, which are all essential skills in photography. Additionally, using natural light forces you to be creative and resourceful, as it challenges you to find the best lighting conditions in any given situation.

Natural lighting has a lot of benefits for photography, from enhancing the mood and tone of your images to improving your skills as a photographer. After all, we have seen natural sunlight our entire life so it’s only natural that we have an affliction for it. However, it's important to remember that natural light is not always available or practical, especially when working indoors or in low light situations. In these instances, you may need to use artificial lighting to achieve the desired look. The key is to understand the strengths and limitations of both natural and artificial lighting and use them to your advantage. By doing so, you can create stunning images that capture the beauty and essence of your subject. Lighting is often times a defining factor when determining someone’s styles and could be a reason why clients gravitate towards working with you.

Artificial lighting enables you to dial in a scene and keep it consistent as long as your light and settings don’t change or move. Shooting with lights in a studio sort of gives you a blank canvas in terms of being creative. You can add props, colored gels over your lighting, and use modifiers to really help dial in the mood you’re looking to create. Using lighting on-location is also very dynamic because you can balance your exposure with your lighting to create some interesting looks. I would argue that artificial lighting is more versatile than natural light because you have a wide array of modifiers to use depending on which need you have. You can control the power of each light to your liking in order to control the scene you are crafting. Most continuous lighting setups include a RGB or Kelvin temperature dial so you don’t even need colored gels in some instances when altering the color of your lights.

Below are a few different looks that I created for my client in a short studio session - something that would be nearly impossible if trying to do with natural light only.

If this is your first time using lighting, I’d recommend to begin slow and only use one light. This helps reduce the complexity of your setup and if you are working with a friend, hopefully they are patient with you testing shots in order to get the exposure where you want it. When pairing one light with an on-location portrait, it’s easy to create a dynamic look by having your model or subject turn their back to the sun, and then you fill in the shadows with a strobe. You instantly add a nice dynamic when dialing in your exposure to use the sun as an edge light and your strobe up front as a key light. The further your key light becomes off camera axis, the more dramatic and shadows you will encounter on your model. Test this out and move the light around to see what kind of looks you can create before just putting the light in one place and you begin to fire away.

Hopefully you found some useful info in this discussion regarding the differences and pros and cons of using natural light and artificial lighting. Please let me know what you’d like for me to discuss in upcoming blog posts. Thanks for stopping by!

Much love,

DJ